Here’s how to wash a car engine at the carwash
Most people tend to focus on the exterior and interior of their car when going to the car wash, but you should also remember to wash your engine periodically.
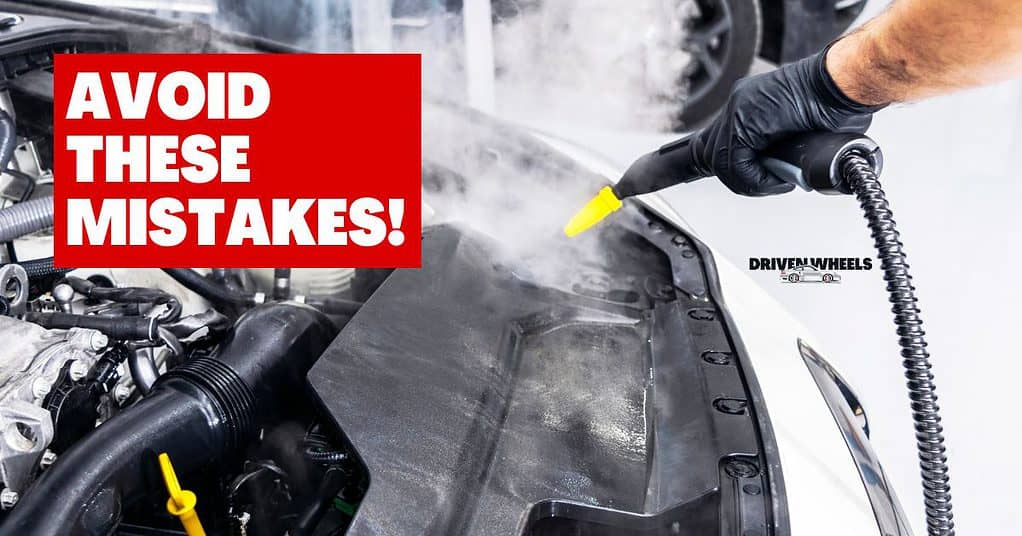
To wash a car engine at the car wash, let your engine cool down for 10 minutes, open the hood, disconnect the battery terminal, cover all electronic components, remove large debris, dry clean dirt, dust, & debris, spray the engine, apply degreaser, scrub and rinse the engine, and dry the engine.
After extensively researching automotive maintenance, I have gathered enough information to determine how to properly wash a car engine at the car wash. In this article, we’ll be taking a closer look at the procedure you should follow when washing your car’s engine to avoid damaging any of its essential components.
How to Wash a Car Engine at the Car Wash Step-by-Step
Your car’s engine is the most important part of your entire vehicle. With that said, I find that the engine is also the component that tends to be neglected the most at the car wash.
Most drivers overlook the importance of the occasional engine wash due to it being hidden under the hood of their cars. While you certainly do not need to wash your engine nearly as often as the rest of your car, it should still be a part of your annual deep clean.
It’s important to understand that washing your engine needs to be approached with caution. This part of your car can be easily damaged if mishandled, which is why you want to follow the cleaning process carefully to avoid any issues.
Cleaning Supplies Needed
Before you drive down to the car wash to clean your engine, you need to make sure that you have all of the right supplies for the job.
Virtually every carwash should provide you with a pressure washer or at least a hose, so you don’t need to worry about bringing this with you. Have the following cleaning supplies available when you clean your car’s engine:
- Soap or degreaser
- Bucket
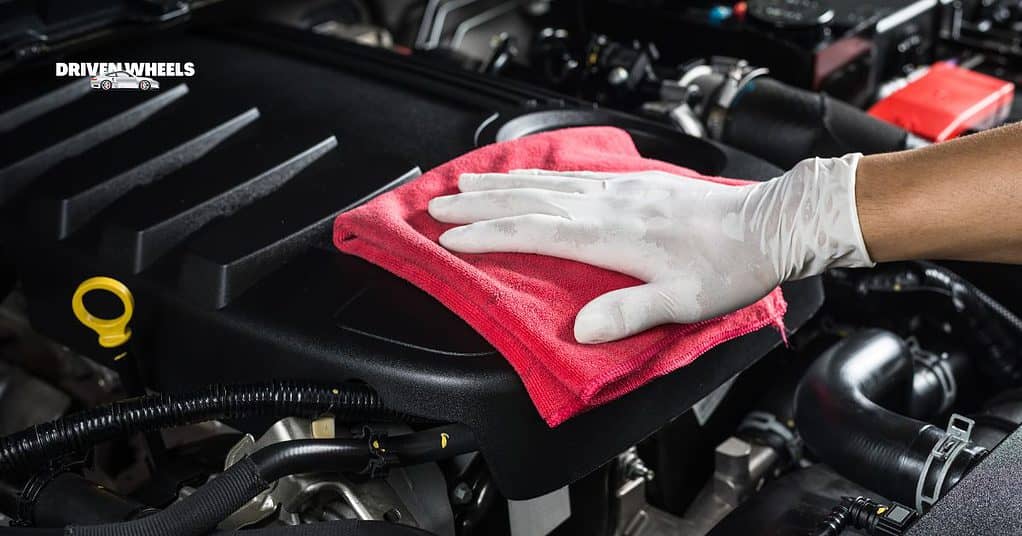
- Rags
- Scrub brush (engine brush)
- Plastic bags or plastic wrap
- Electrical tape
Step 1: Let Your Engine Cool Down
As you pull into the car wash, you must leave your car parked and switched off for at least 10 minutes before you start washing your engine.
This is an important step, and I find it’s one that many people tend to overlook. To start, a hot engine is going to be more challenging to work with given that you won’t be able to physically touch any of the components without burning yourself.
However, you also want to let the engine cool down given that immediately spraying it with cold water can potentially damage some of the components. Metal parts in your engine may be sensitive to such extreme temperature changes, which is why you should always let it cool down before you start washing.
Step 2: Open the Hood
Once the engine has cooled down, pop opens the hood of your car to access the engine. You can do this by pulling the lever below your steering wheel to release the locking mechanism.
If your car does not have a hood that holds itself in place, you need to prop it open. The prop should be located toward the very front end of the hood. Simply detach it and prop it into the slot to keep the hood from closing itself.
Step 3: Disconnect Battery Terminal (Optional)
Your battery terminal should technically be safe to get wet. However, I find as an extra precaution, disconnecting it is safer and it can be done in seconds.
Step 4: Cover Electronic Components
There are plenty of electronic components around your engine you want to avoid getting wet. The best approach to prevent this is to wrap them in plastic bags and then fasten them using electrical tape.
Cover the following engine components before you continue washing your engine:
- Spark plugs
- Ignition wires
- Alternators
- Fuse box
- Distributor caps
- Engine control units
This is the most important step that you need to follow to avoid damaging any of your engine’s components.
Step 5: Remove Debris
Whenever cleaning an engine, I find it’s always best to start with the largest debris first before you spray any water on the components.
After you open your hood, you may see some debris such as leaves and twigs around the engine. Remove any debris that you can by hand without using any of the cleaning supplies yet.
Step 6: Dry Clean Dirt, Dust, and Debris
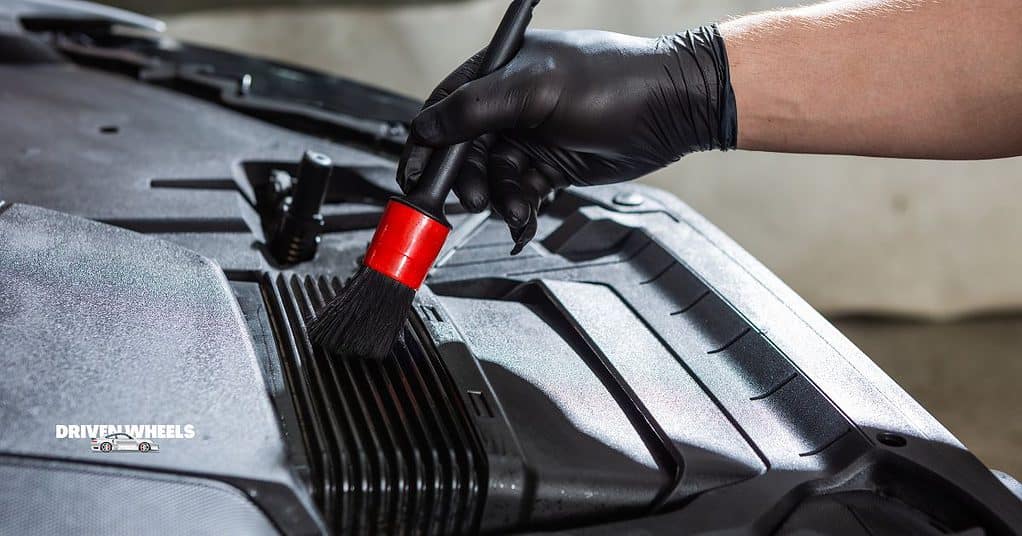
If you see that there are noticeable traces of dirt, dust, and debris around your engine, use a brush to wipe them away. For this step, you should not be using any water.
All you need to do is go around the surface of the engine and its components to wipe away any noticeable dirt, dust, and debris. This does not need to be a deep clean, as you will still be washing everything thoroughly soon.
Step 7: Spray the Engine
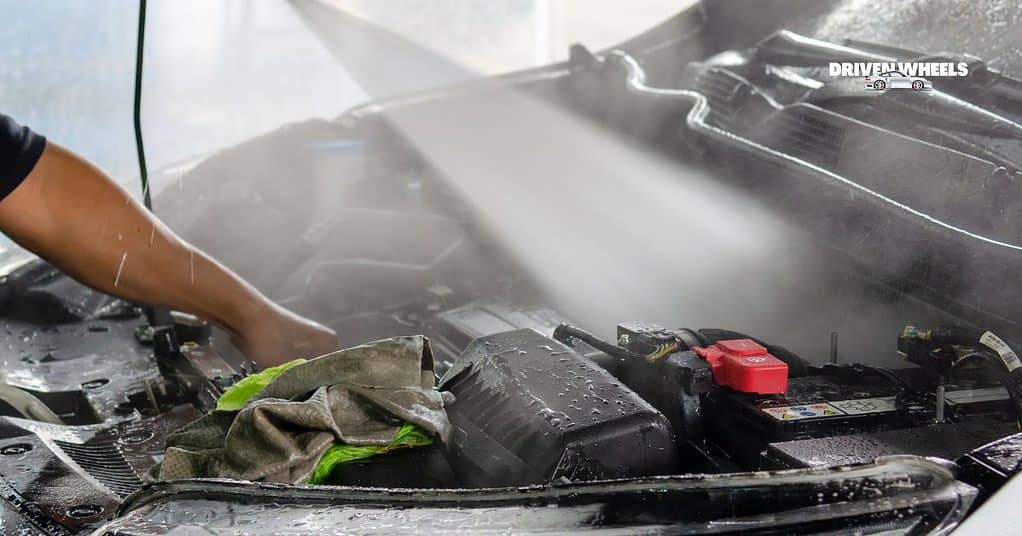
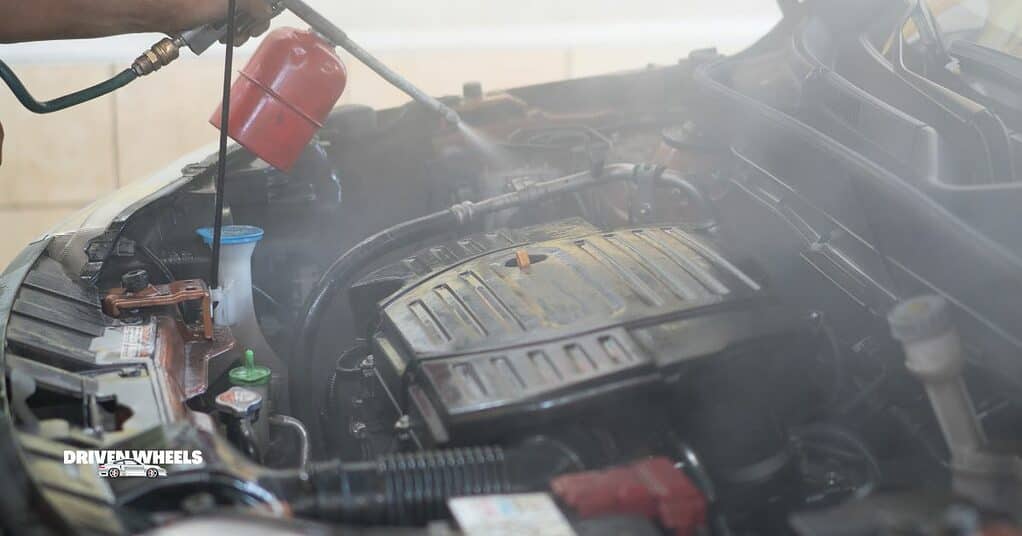
If your local car wash has a pressure washer, this is the best tool for washing your engine. Make sure to set it to low pressure and begin carefully spraying the engine and its components.
Avoid spraying the plastic bags too much, given that they can potentially rip if too much water pressure is applied. However, if you do not have a pressure washer available, a standard garden hose will suffice.
Step 8: Apply Soap or Degreaser
To clean your engine on a budget, you can make a simple soap and water mixture. This is cost-effective and gets the job done fairly well.
With that said, if you want to do a thorough deep clean of your engine, opting for a degreaser that was designed for cleaning engines is the way to go. There are plenty of degreaser products that you can choose from, and the majority of them work wonders at cleaning engines.
Once you’ve decided on a degreaser, make sure to read the instructions for the product carefully. Only use the amount of degreaser recommended by the manufacturer and apply it to your engine following the instructions.
- Powerful formula quickly removes heavy-duty automotive soils, grease and dirt
- Safe to use, non-flammable, biodegradable and VOC compliant
- For use on engines, machinery, tools, workbenches, garage floors/walls, asphalt, stainless steel, chrome, condenser coils, and exhaust hoods
- No fumes or unpleasant odors
- Ready-to-use, no mixing required
Step 9: Scrub & Rinse the Engine
After the degreaser has been applied, let it sit for about 5 or 10 minutes. Use an engine brush to scrub the engine and all of its external components.
Target all visible areas including hoses, caps, and fluid containers to remove dirt and grease. This process can take upwards of 30 minutes to an hour if your engine is really dirty.
After you scrub the engine, rinse it down with a pressure washer or hose to remove all soap and degreaser.
Step 10: Dry the Engine
Once you’ve finished rinsing the engine, you should ideally let it dry before you start driving. I find waiting for 10 to 15 minutes is usually enough for most water to drip out.
However, if you have a clean rag available, you can speed up the process by hand drying.
Key Takeaways
- Before you wash your engine, let it cool down for 10 minutes first.
- You will need a degreaser, a scrub brush, rags, a bucket, plastic bags, and electric tape for the job.
- To wash a car engine, open the hood, disconnect the battery terminal, cover all electronic components, remove debris, dry clean dirt, dust, & debris, spray the engine, apply a degreaser, scrub and rinse the engine, and dry the engine

